
2D basics
Browse with default gestures; selected tools take priority.
Mouse controls and slices
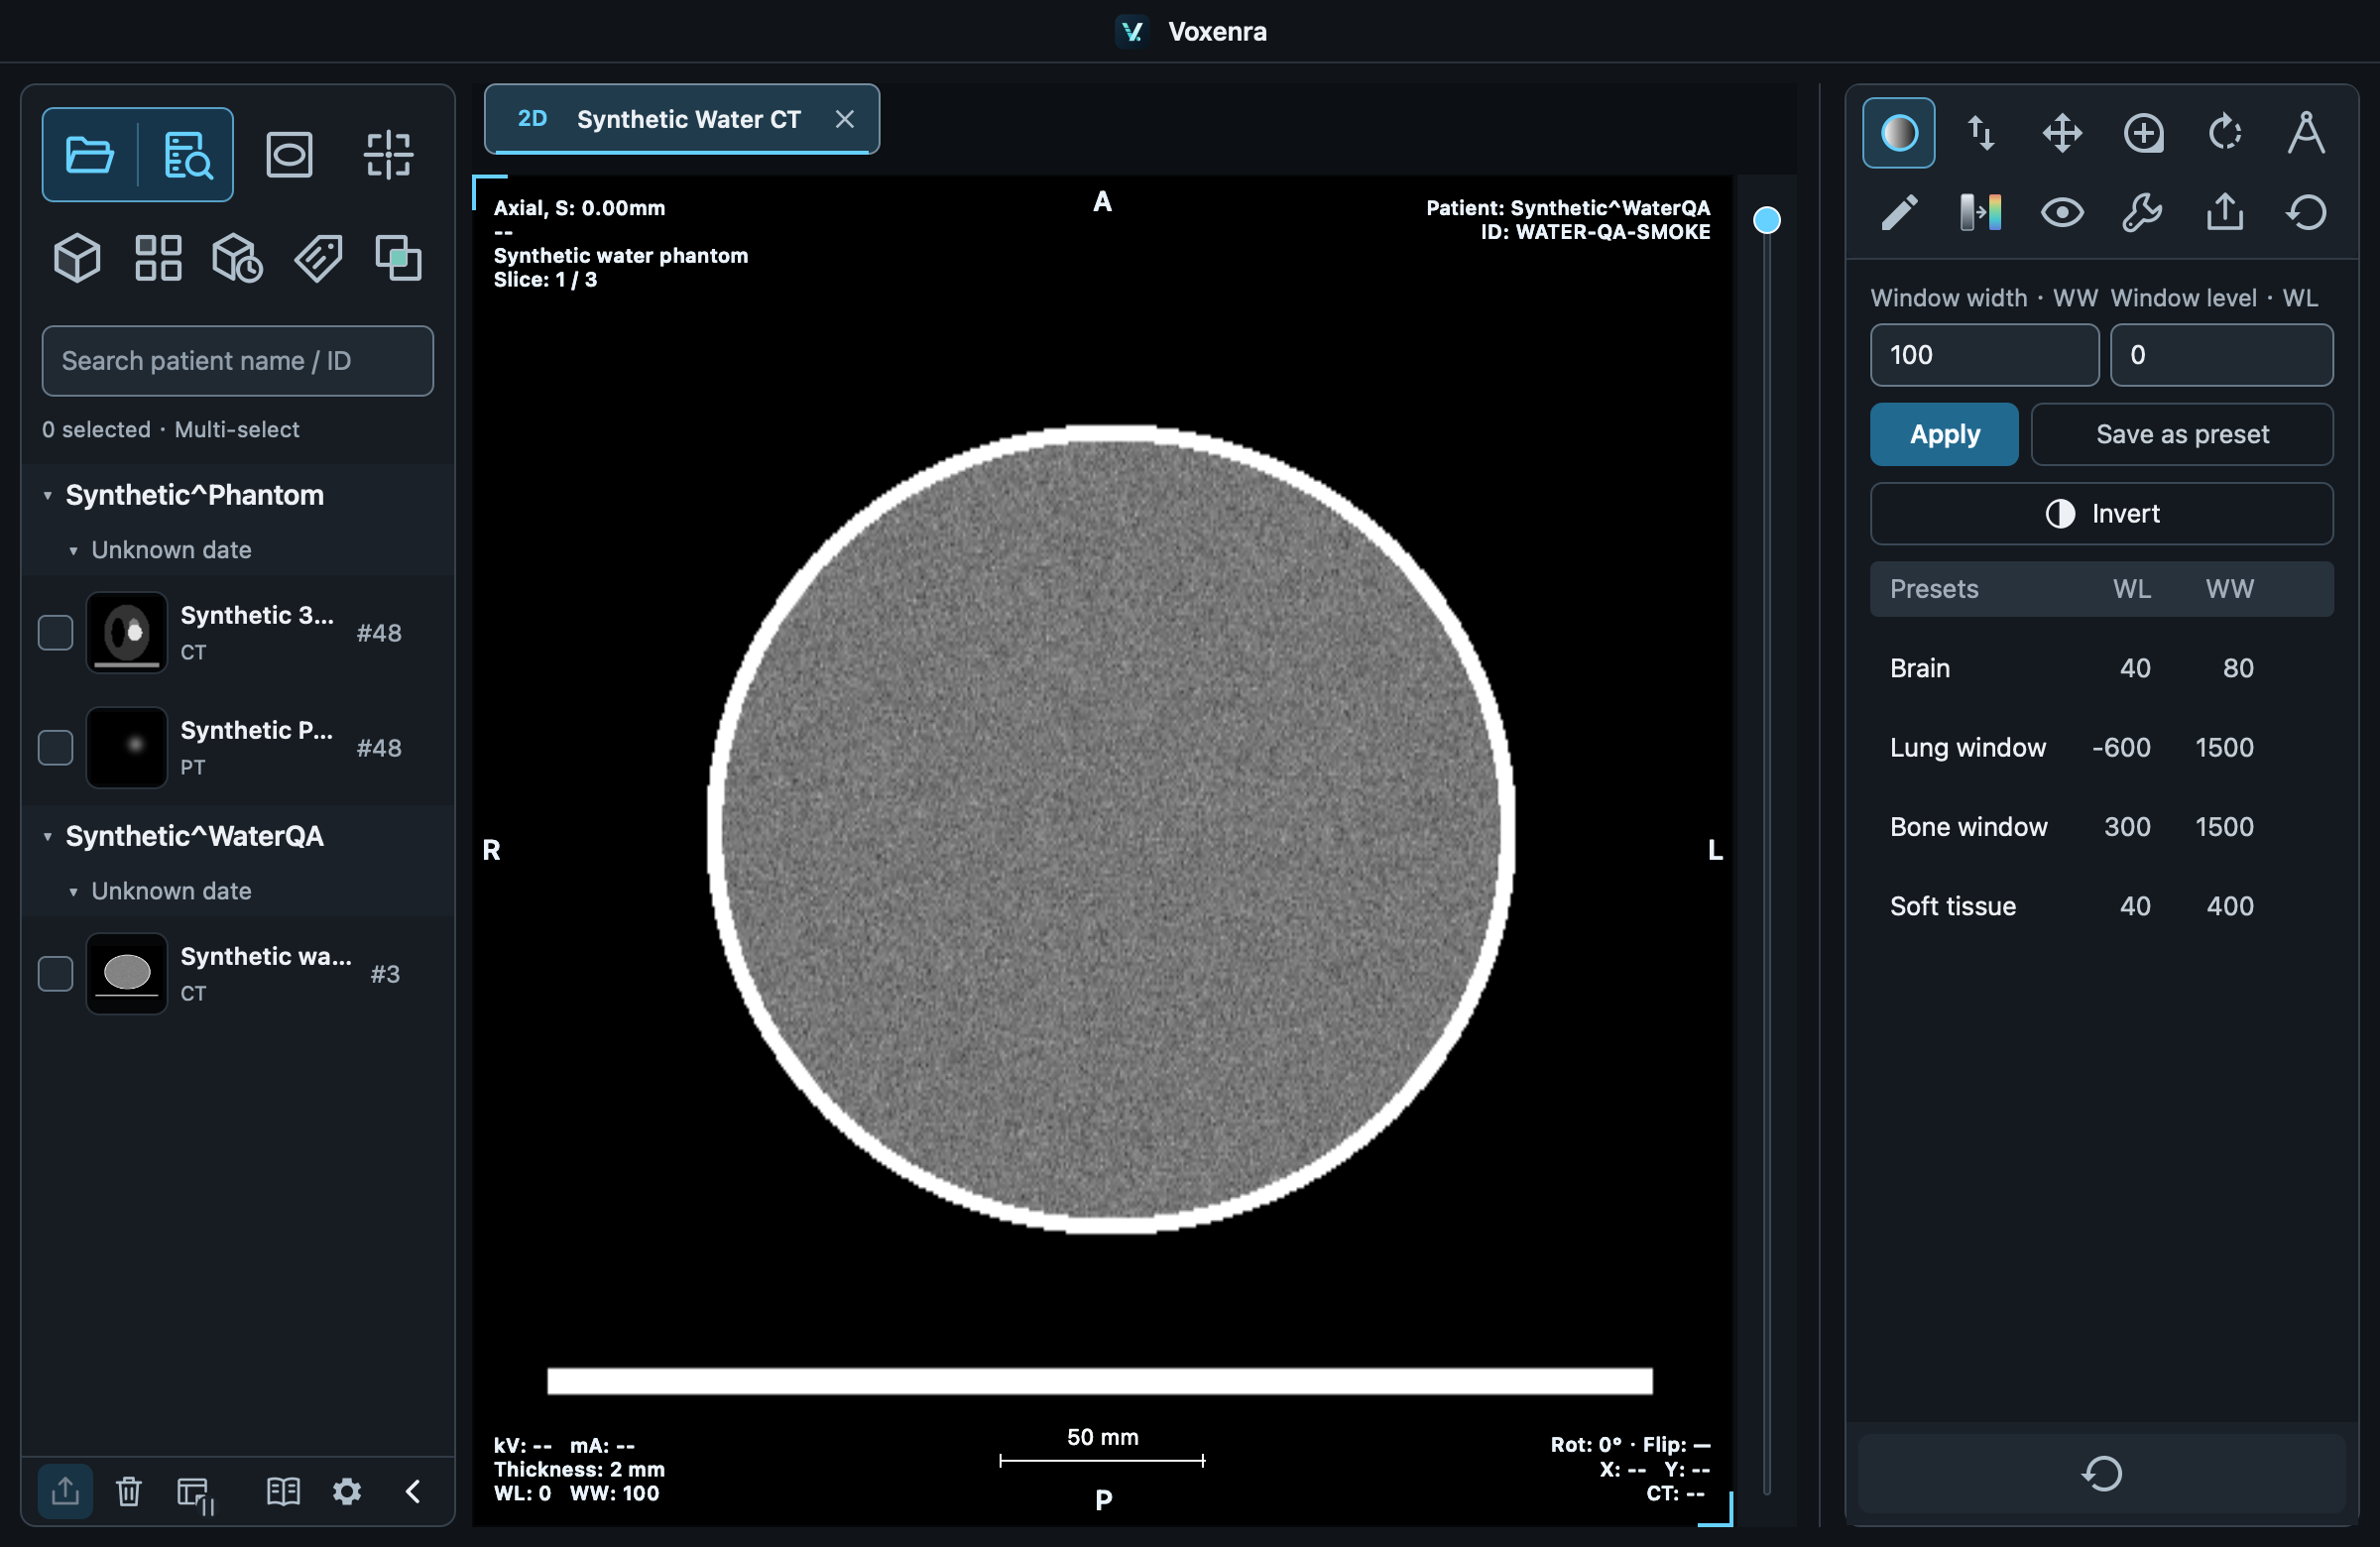
By default, left-drag adjusts the window, right-drag zooms, and the wheel browses slices. A selected tool such as Pan, Measure or Annotate takes priority on the left button; crosshairs and locator handles retain their left-button actions. Right-drag zoom does not switch tools or cancel unfinished measurements. The Browse panel jumps to the first or last page, or 10 pages backward or forward.
Windowing and inversion
Drag with Window to adjust WW/WL, or enter values and press Enter or click Apply. CT accepts one decimal place; MR accepts three and adds Auto window. CT / MR Invert changes brightness polarity without changing source values or statistics. PET uses its own display range and units.
Zoom and orientation
Drag with Pan, Zoom or Rotate. Zoom shortcuts 1×, 2×, 5× and 10× are absolute; 1× fits the image. The rotation panel provides 90° rotations and horizontal / vertical flips.
Before resetting
The secondary panel resets its current tool. Reset all restores the view and clears its corresponding measurements and annotations.
Layouts and drag and drop
The first Layout tool offers single, row, column, grid and main-view layouts, plus a custom grid up to 6 × 6. New cells are empty. Drag a series from the sidebar, including its collapsed thumbnail rail, into a cell to load or replace it. Click a cell to target the right toolbar. Smaller layouts hide extra cells and expanding restores them; double-click an image to temporarily maximize it. Window sizes use logical pixels. The main window defaults to 1440 × 900, with a 1280 × 720 minimum. Detached windows default to 1120 × 840, with a 960 × 720 minimum. At least 640 × 520 is reserved for the central reading area, excluding tabs; panel resizing respects this space. Windows fit the available desktop and temporarily compact panels when necessary, restoring preferences when space returns. Very small screens reduce the minimum to their available space. Multiple viewports share the central area; double-click an image to focus it.
Original slices and reconstructed planes
Use the selector in the upper-left corner of each 2D viewport to choose Original slices, Axial MPR, Coronal MPR or Sagittal MPR. Original slices retain their acquisition orientation, with the actual plane (including Oblique) alongside. Reconstructed planes use the current series volume, without switching source series. Their position appears alongside without repeating the plane name. Positions retain S/I, L/R, P/A and mm; hover for an explanation. These are not slice thicknesses or slice numbers. Missing spatial information is shown as unavailable. Incomplete volume data produces an error inside the cell; Original slices remains available. Each mode retains its own slice, window, zoom and measurements. The workspace restores cell sources, modes and layout. The selector remains available when corner information is hidden.
Compact right toolbar
Click the arrow beside the bottom reset area to collapse the tools into a 44-pixel rail. It retains available window/level, scroll, pan, zoom and 3D rotation tools. Click Measure, Rotate, Annotate or Pseudocolor to reveal action icons beneath the button. Click again to collapse; opening another group closes the previous one. Secondary actions use a distinct background and spacing. Reset all at the bottom matches the primary reset in the expanded toolbar: it restores the current view and clears its corresponding measurements and annotations. With the toolbar expanded, the reset beneath the detail panel remains scoped to the active tool. Click Play to loop through the active view’s slices; click again to stop at the current position. Both expanded and collapsed toolbars offer Play / Stop. Set 1–15 FPS in the expanded panel. Switching views or tabs stops playback; single images cannot play.
Viewport display settings
Choose Active viewport or Entire tab in Viewport settings → Apply to. Control corner information, patient privacy, scale and color bars, orientation markers and fit to window. Entire tab includes hidden cells; new cells inherit its settings. Other tabs are unaffected. A dash indicates mixed settings; click to set all cells on or off. Orientation markers are patient direction letters such as A/P, R/L and H/F. Original slices and independent reconstructed 2D cells have no linked crosshair, so their settings omit Localizer. MPR retains this option.