
Threshold segmentation and depth
Define a 3D region in MPR, then quantify voxels by threshold.
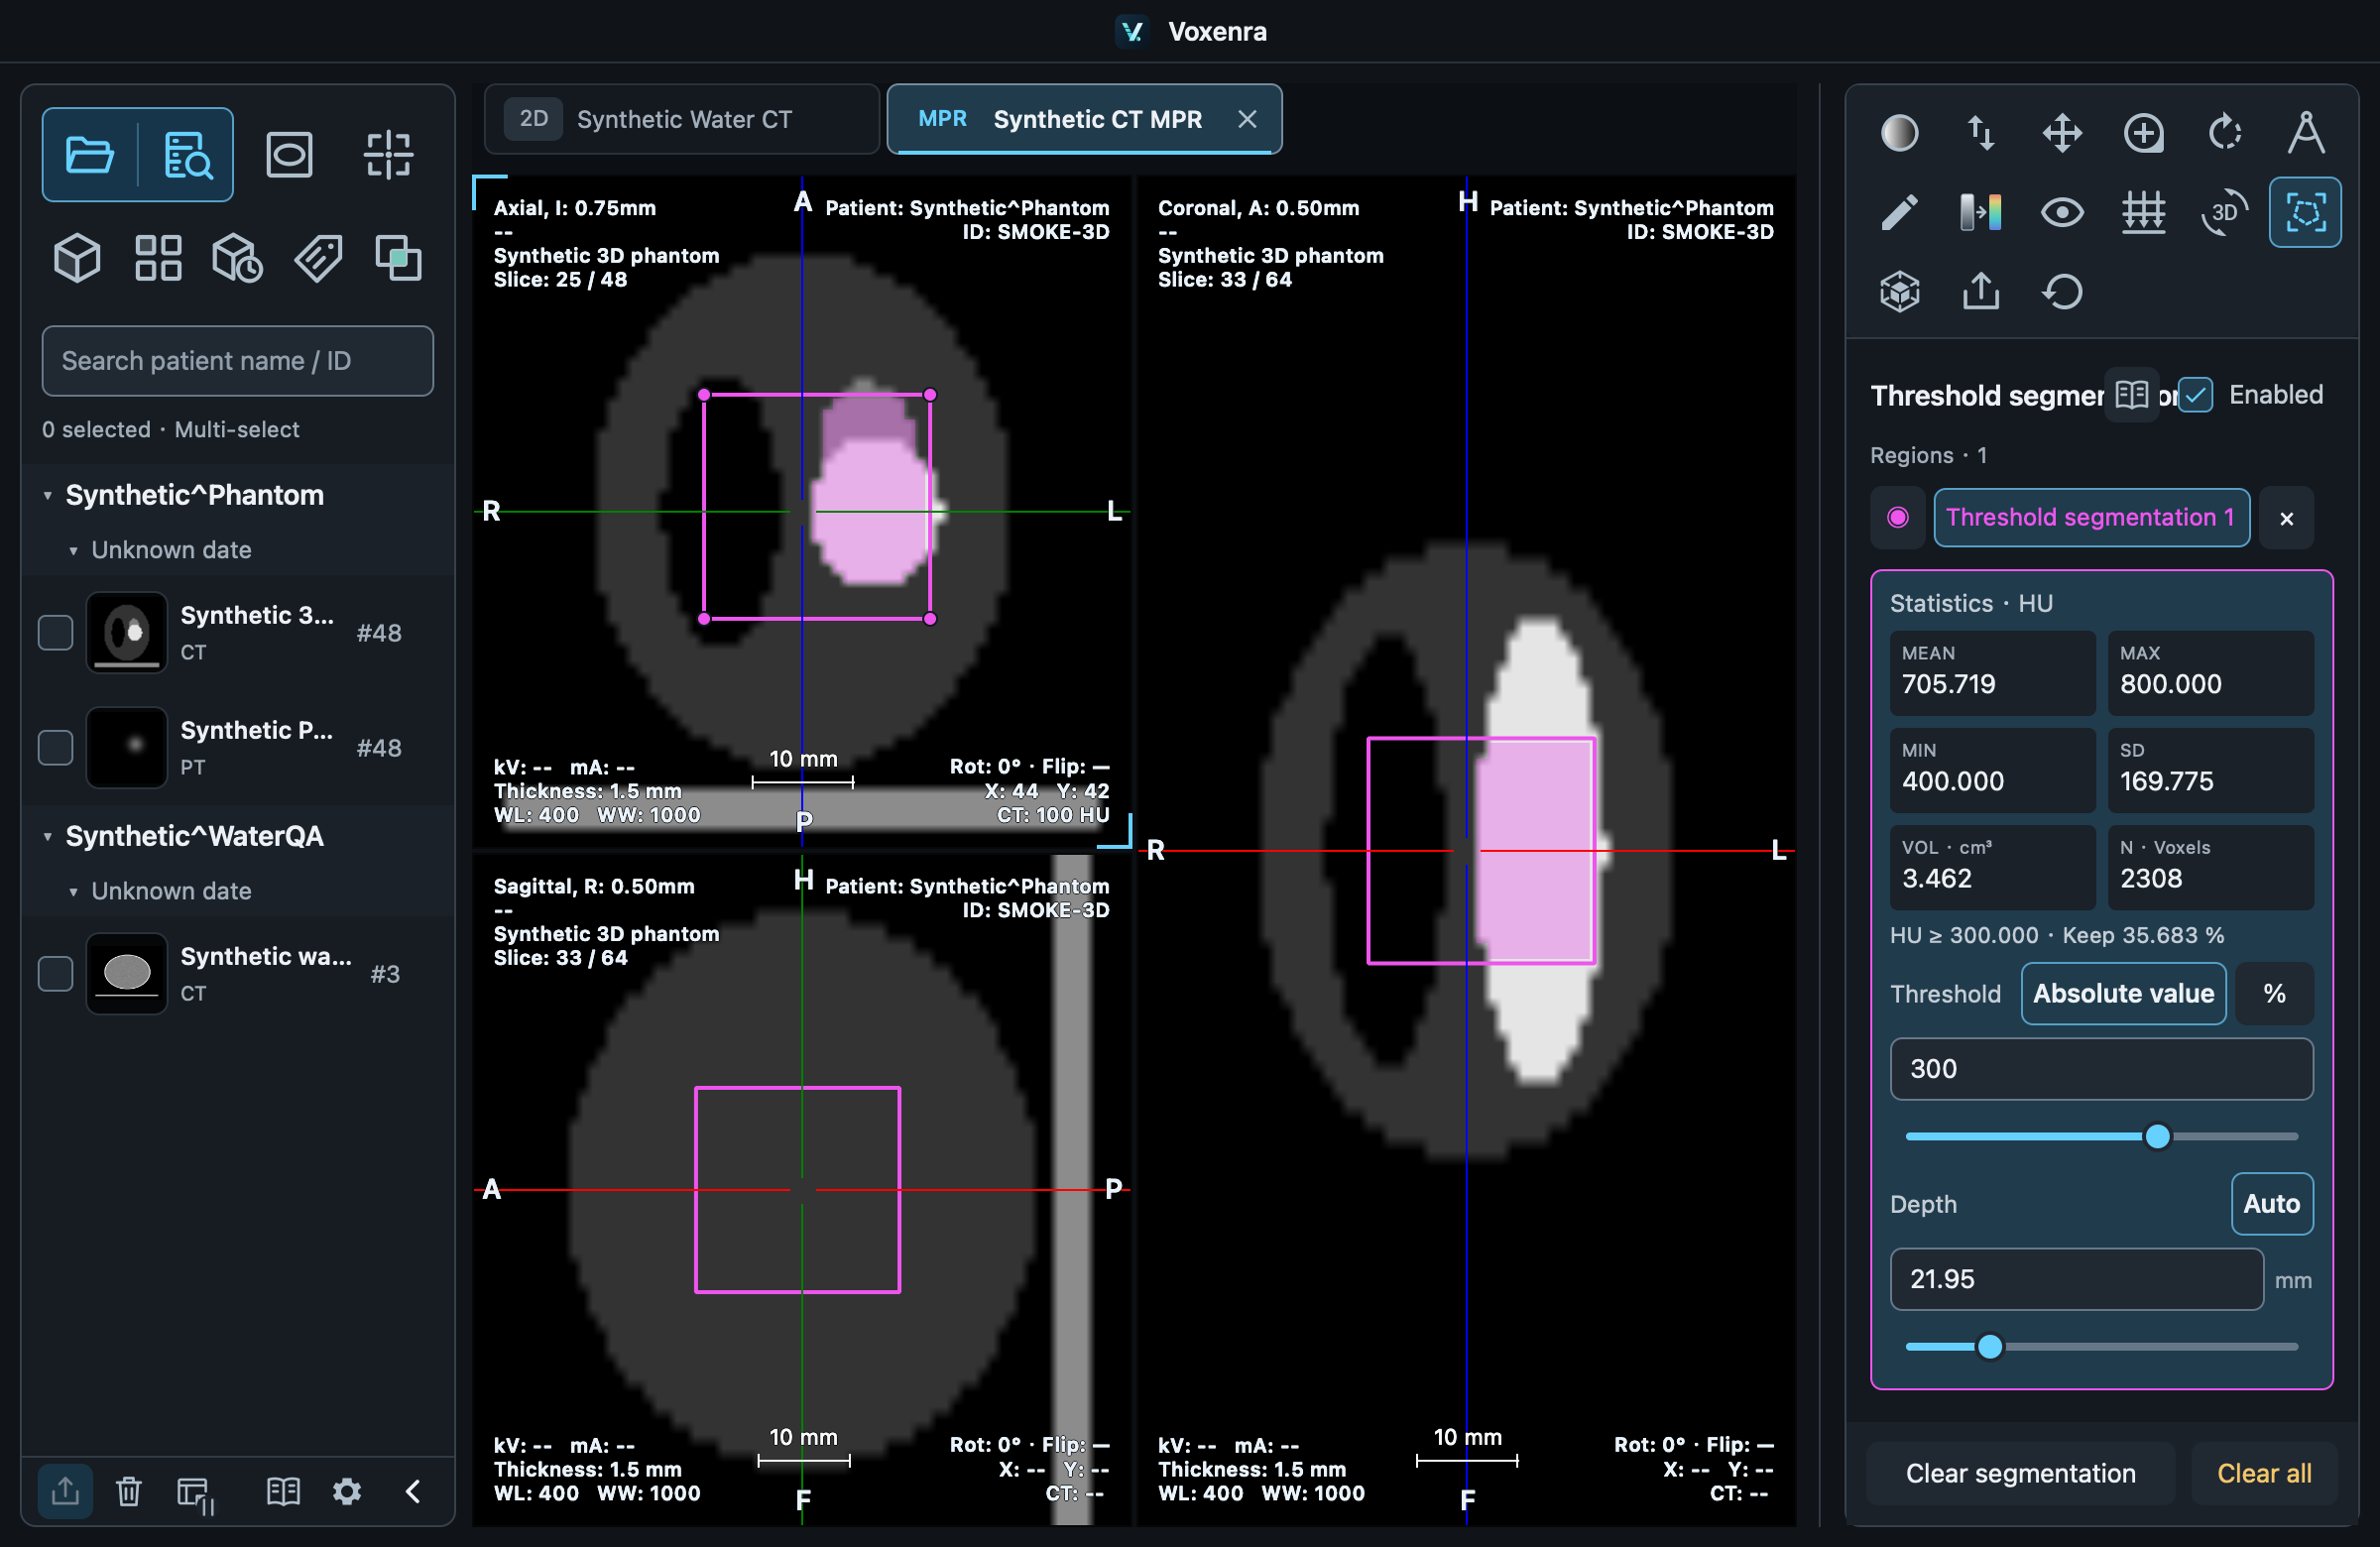
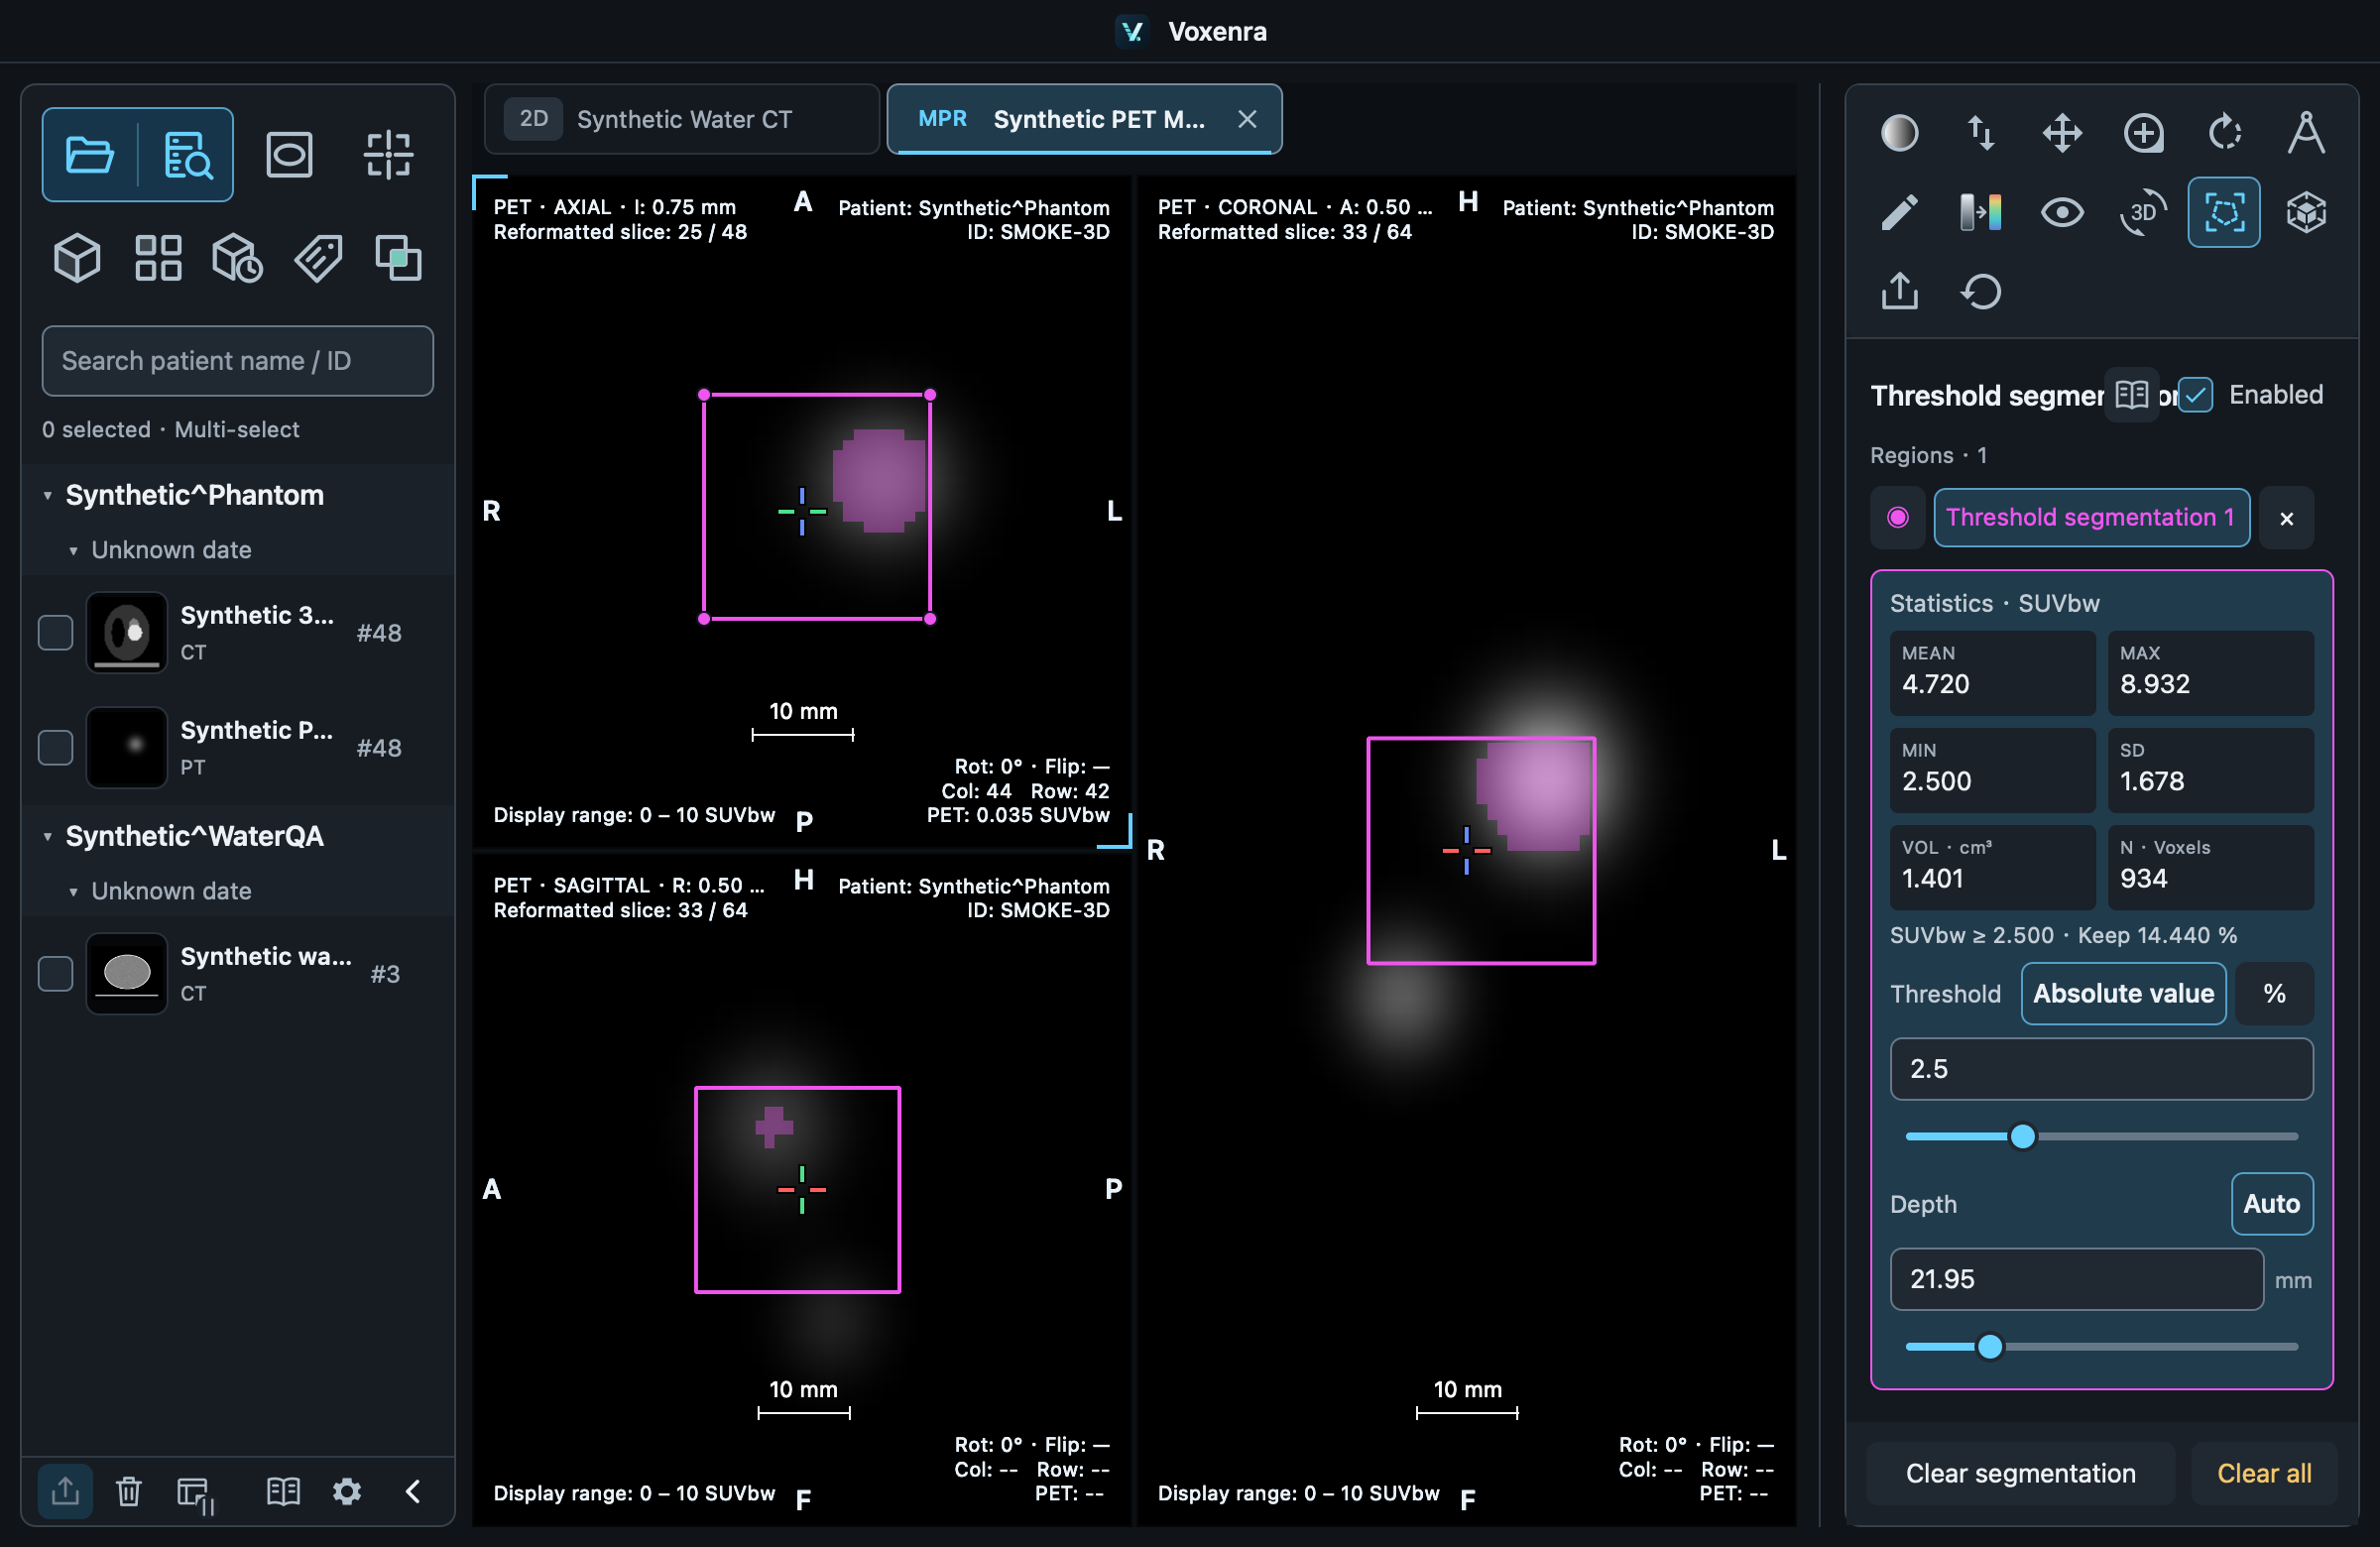
1. Draw a region
Enable MPR → Threshold segmentation for CT/PET, or 4D → Threshold segmentation for CT. Drag a rectangle with the left mouse button and release. All three planes show the region; 4D shows only regions belonging to the current phase.
2. Set a threshold
Choose Absolute / %, then enter a threshold or use the slider. Voxels ≥ the threshold within the region are colored and counted. Check the CT/PET unit first.
3. Set depth
Default depth is √(width × height), extending both ways from the drawing plane. Direct depth adjustment selects Manual. Switch back to Auto to follow width and height.
Edit or troubleshoot
Return to the original plane. Drag the interior to move, or corners to resize. If no result appears, check position, threshold, unit and depth. N = 0 means no valid voxels meet the criteria.
Export SEG
Finish segmentation and wait for statistics, then choose Export → Export SEG. Regions in this tab and phase on the same source grid share a binary multi-segment SEG, retaining overlaps. Large collections are batched within a memory budget. Adjust empty regions before exporting.
Import and manage SEG
Import source DICOM on the left, open its MPR / 4D tab and phase, then choose Import → Import SEG segmentation on the right. Native-grid binary SEG supports multiple and overlapping segments. Use Manage segments to rename, recolor, show, hide or delete them, with undo and workspace persistence. Imported mask geometry is fixed. MR supports segment management too.